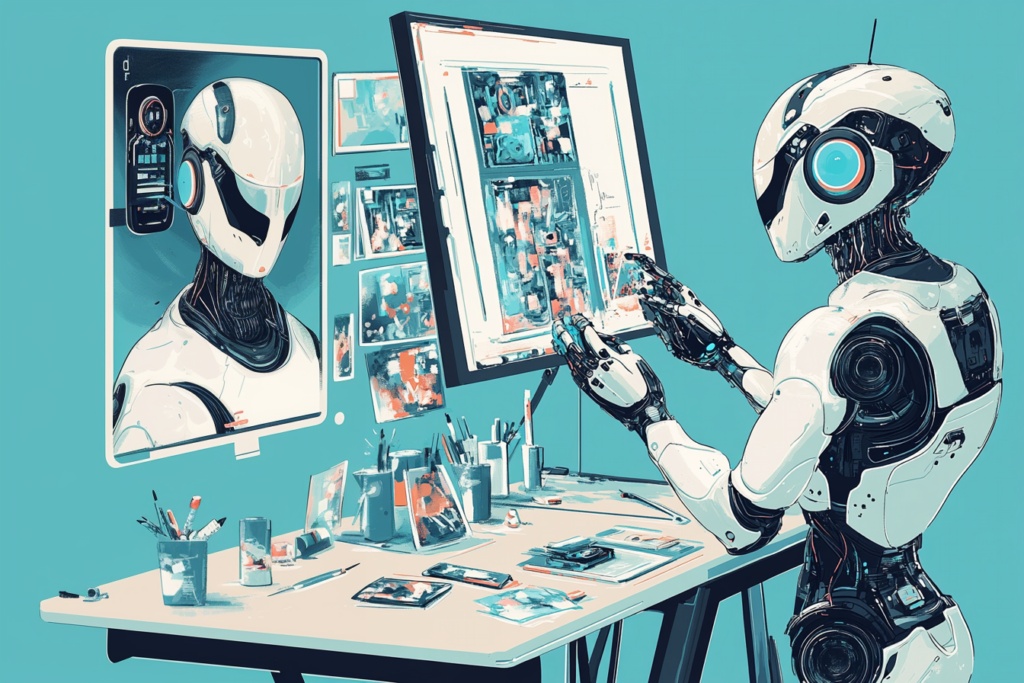
Tools for autonomously creating artwork are profoundly changing the creative landscape. These applications use advanced algorithms that transform text inputs into visuals, captivating artists and casual users.
One app, MidJourney, has significantly risen in popularity, producing intricate and appealing designs in seconds and drawing in users with diverse artistic interests. If you’re curious about how to build your own AI-based image generator or keen to delve deeper into the world of AI-fueled art creation, you’ve come to the right place.
This guide lays out what it takes to create your own AI art generator, shedding light on the foundational technologies, the step-by-step process, and the expected costs.
Understanding AI Art Generators
Before we get into all the tech details, you need to know what an AI art generator is. Powered by AI, AI art generators rely heavily on machine learning to create artwork based on the inputs provided by users. These tools learn a lot by examining huge sets of existing art, and they are able to generate original works in numerous styles, themes, and techniques that the viewer will never notice as computer-made.
The Rise of AI Art Generators
AI art generators aren’t just a passing craze—they’re sparking a significant change in how we think about creativity and artistic expression. According to Market Research, the AI art market could shoot up from $298 million in 2023 to about $8.2 billion by 2032. This rapid increase shows the rising interest in AI-made art and how it might be used in many fields.
People are finding all kinds of uses for these AI art tools, from crafting marketing visuals to making game assets and even creating unique personal artwork. Because they’re so versatile, these tools catch the eye of businesses and individuals who want to explore AI’s creative possibilities. Also, find out about AI animation generators to unlock your creative vision.
How AI Art Generators Work
I. Data Collection
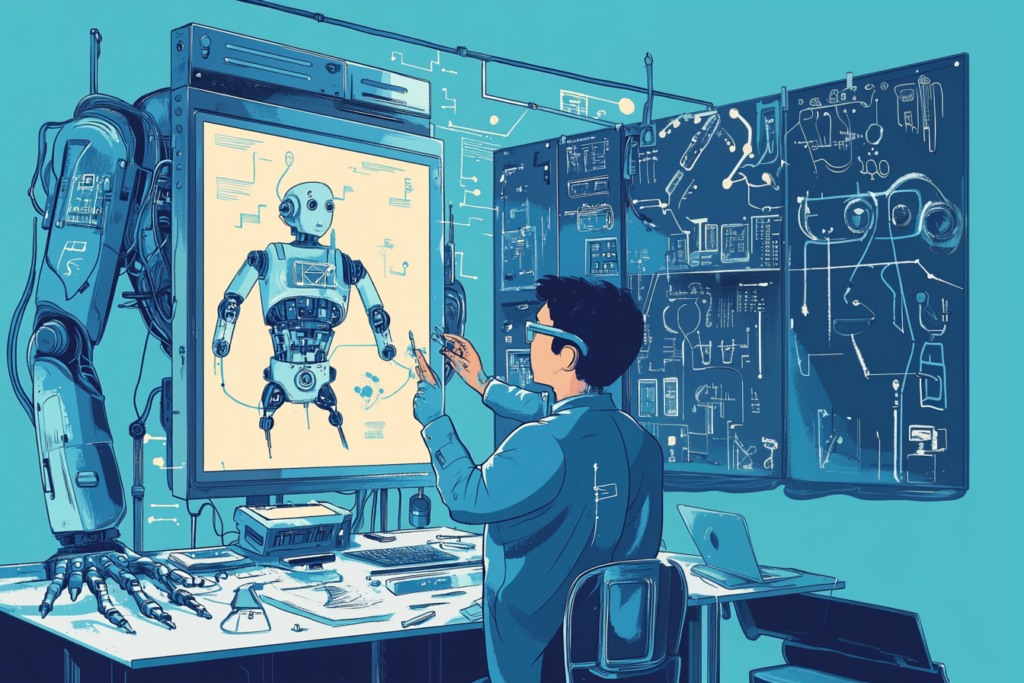
Have you ever wondered what’s at the core of an AI art generator? It’s all about the data. If you plan to create your own, you’ll first need a solid collection of varied images. Think of your dataset as the paint and canvas of your AI art project. Gathering this data involves a few essential steps:
- Types of Data Required: Your image collection should include a wide range of styles. Different styles, like portraits and landscapes, give the AI more to learn from. It helps if each picture has details like tags or descriptions so your AI can understand the style and content.
- Sources for Data Collection: You can source data from various places, including:
- Public Datasets: Numerous public datasets are available for research and commercial use. Examples include WikiArt, Google’s Open Images, and Flickr’s Creative Commons collection. These datasets can provide a solid foundation for training your model.
- Web Scraping: When looking for very specific images or styles, web scraping might help. With tools like Beautiful Soup or Scrapy, you can gather images from different sites, but remember to keep copyright considerations in mind.
- Your Own Image Collections: If you’re an artist or designer, including your own work can bring a unique flavor to the generator, shaping it around your specific style and vision.
II. Model Selection
Once you have your dataset ready, it’s time to opt for a model architecture. The model you choose matters. Here are some popular options:
- Generative Adversarial Networks (GANs): GANs are widely used for creating images. Imagine two competing artists: one (the generator) tries to create realistic images, and the other (the discriminator) critiques them. This back-and-forth makes the generator’s images more and more lifelike over time. Many believe MidJourney uses a form of GAN to create impressive artwork, tapping into this model’s strengths for stunning visuals.
- Variational Autoencoders (VAEs): VAEs take another approach. Instead of a critique-based method, they simplify and reconstruct images, making them easier to train. However, they might not achieve the same level of detail as GANs.
- Pros and Cons: GANs can deliver high-quality images but are tricky to train and need careful adjustments. VAEs are more stable and straightforward but might fall short on detail. Consider what works best for your project, and follow the model that aligns with your goals.
III. Training the Model
Training your AI art generator is where it all starts coming to life. In this stage, the model learns from the images you’ve collected. Here’s how the training generally works:
- Training Datasets: Start by dividing your images into training, validation, and testing sets—usually around 80% for training and 10% each for validation and testing. This setup helps you see how well your model can handle new, unseen images.
- Rounds of Training and Feedback: Training usually requires multiple epochs, which are complete passes through the training dataset. The model updates its parameters based on the feedback it receives. The choice of loss function is crucial, as it guides the training process. Common loss functions for GANs include Wasserstein loss and binary cross-entropy.
- Example of Loss Function: Wasserstein loss is particularly valued in GAN training as it provides stable improvement guidance by measuring the distance between authentic and generated images.
- Hardware and Software Requirements: Training can demand a lot of computing power. It’s best to have high-performance GPUs (graphics processing units), such as NVIDIA, or consider cloud services like AWS or Google Cloud if you’re going big.
- Software Frameworks: Tools like TensorFlow and PyTorch are highly recommended since they come with functions and modules that simplify building and training your model.
IV. Fine-tuning and Evaluation
After the first round of training, adjusting your model is vital to getting better results. Wondering how to go about it? Here are some tips:
- Techniques for Fine-tuning: There are several techniques you can use to enhance your model’s performance:
- Learning Rate Scheduling: Adjusting the learning rate during training can help the model converge more effectively and settle into its optimal setting more smoothly.
- Data Augmentation: Try adding variety by rotating, flipping, or cropping images in your training data. This keeps the model from getting stuck in patterns.
- Transfer Learning: Working with a small dataset requires a pre-trained model and fine-tuning it on your data. This way, you save time and computational resources.
- Evaluating Model Performance: Use various metrics to assess the model’s output and make improvements. Consider the following:
- User Feedback: Engage users to gather feedback on the generated images. User preferences can provide valuable insights into the quality and relevance of the outputs.
- Quantitative Metrics: Employ quantitative metrics such as Inception Score (IS) or Fréchet Inception Distance (FID) to evaluate the quality of generated images. IS measures how realistic the generated images are, while FID compares the statistics of the generated images to those of real images, providing a numerical score.
Key Features of AI Art Generators
AI art generators come with all kinds of features to make using them easy and fun. Want to create your own AI art generator to really stand out? Here’s what to look for:
1. User-Friendly Design: A simple interface is key if you want everyone—from beginners to pros—to feel at ease using your generator. Make sure it’s easy to type in prompts, pick styles, and see previews. Consider:
- Text Box: A basic text box for prompt entries so users can describe the art they’re aiming for.
- Style Picker: Dropdowns or buttons to select styles, whether abstract, realistic or something else.
- Preview Tool: Let users see a quick preview before finalizing. This gives them a chance to fine-tune things.
2. Variety of Art Styles and Custom Options: Offering lots of styles keeps creativity flowing. You might want to include:
- Different Looks: From classic to modern, a range of styles helps users experiment.
- Custom Settings: Add options to change color schemes, brush textures, or other details so users can make each piece their own.
3. High-Quality Images: Quality is everything! Users expect sharp, clear images, so make sure your generator can produce:
- Resolution Choices: Let users pick from standard web resolutions to print-quality options.
- Sharp Details: Use models like GANs to highlight details, making images pop.
4. Fast Processing: Quick results are a must in today’s world. Try to make your generator fast and efficient with:
- Instant Results: Aim for real-time or close-to-real-time image generation.
- Batch Mode: Allow users to make several images simultaneously—a bonus for project designers.
5. Community and Sharing: Building a community can make your generator more engaging. Think about:
- Galleries: A gallery feature where users can share their creations, give feedback, and get inspired.
- Social Sharing: Simple sharing tools so users can post their art directly to social platforms.
6. Learning Tools and Inspiration: Keep users motivated with learning and inspiration features:
- How-To Guides: Offer tips on using the generator and crafting creative prompts.
- Inspiration Boards: Show collections of popular or unique art for fresh ideas.
7. Accessibility and Device Compatibility: Make your generator available to a wide audience by:
- Cross-Device Access: Whether as a mobile app or desktop tool, users can use it across different devices.
- Accessibility Options: Include features like keyboard shortcuts and adjustable text sizes.
8. Advanced Techniques: The technology behind your generator can make a big difference. Try using:
- Style Transfer: Let users combine styles from different images.
- Creative Algorithms: Explore techniques like reinforcement learning to enhance the art quality and creativity.
How to Make an AI Art Generator
With a solid understanding of how AI art generators work, let’s dive into the practical aspects of building your own.
I. Setting Up the Environment
To create your own AI art generator, you need to establish a robust development environment. Here’s how to get started:
- Recommended Tools and Libraries: Choose the right tools for your project. Libraries like TensorFlow and PyTorch are popular choices for building neural networks. Both libraries offer extensive documentation, tutorials, and community support, making them suitable for both beginners and experienced developers.
- Development Environment Setup: Decide whether you want to develop locally or use cloud services. Here are the pros and cons of each option:
- Local Development: Developing locally gives you full control over your environment but may require powerful hardware to handle training tasks. Make sure your system meets the hardware requirements for deep learning tasks.
- Cloud Services: Cloud-based platforms often provide pre-configured environments, making it easier to get started without worrying about local setup issues. They also offer scalability, allowing you to adjust resources based on your needs.
II. Developing the User Interface
An intuitive user interface is critical to making your AI art generator user-friendly and accessible to a wide audience. Here’s how to develop an effective UI:
- UI Design Options: Consider your audience when designing the interface. You can choose between a web-based or app-based interface. A web app allows broader access, while a mobile app can engage users on the go. Here are some design considerations:
- Simplicity: Ensure the interface is easy to navigate. Use clear labels and intuitive layouts to guide users through the process.
- Aesthetics: Incorporate visually appealing elements to enhance the user experience. Use a color scheme and typography that reflects your brand.
- Integrating User Input: The interface should allow users to input prompts and select styles easily. Consider using text boxes for prompts and dropdown menus for style selections. Here are some additional features to enhance user interaction:
- Preview Functionality: Allow users to preview generated images before finalizing their choices. This feature can enhance user satisfaction and engagement.
- Customization Options: Offer users the ability to customize certain aspects of the generated art, such as color palettes or styles. This can encourage creativity and exploration.
III. Generating Art
With the backend setup and the user interface designed, it’s time to implement the art generation process. Here’s how to go about it:
- Converting User Input: When a user inputs a prompt, the system should preprocess this input to format it appropriately for the model. Techniques like tokenization can help convert text into a format the model can understand. Consider the following steps:
- Tokenization: Break down the text prompt into tokens (words or subwords) that the model can process. This step ensures that the model understands the meaning behind the prompt.
- Encoding: Use encoding techniques to represent the tokens as numerical vectors. These vectors serve as input to the model during the generation process.
- Handling Output Formats: Decide on the output formats you want to support (e.g., JPG, PNG). You’ll also want to determine the resolution of the generated images based on user preferences and computational resources. Here are some best practices for handling output:
- Resolution Settings: Allow users to choose the resolution of the generated images. Higher resolutions may require more computational resources, so consider offering options based on user needs.
- File Formats: Support common file formats like JPG and PNG, and consider providing options for different quality settings.
For startups, building their first AI art generation application is a struggle. So, hiring an expert AI developer would be a smart investment. Where to find one? Well, LITSLINK is a perfect place. Our team of AI software engineers has 5+ years of experience and multiple successful AI projects. Hit us up for details!
Costs to Build an AI Art Generator
Building your own AI art generator can be a thrilling project, but understanding the costs along the way is crucial. To know the approximate cost of your future project, use our free online cost calculator. Here’s a rundown of some main expense areas to keep in mind:
I. Development Costs
Unless you’re a developer, you might need to bring in professionals to make your vision a reality. Costs can vary quite a bit depending on expertise and location.
- Hiring Developers: Based on your project’s needs, developer rates can range between $50 to $150 per hour. To keep your budget in check, it’s helpful to:
- Project Scope: Have a clear idea of what your project will need to avoid hidden costs. A well-defined scope helps estimate resources more accurately.
- Experience Level: Hiring developers experienced in AI can improve project outcomes, though they may charge a premium.
- Design and Testing: Don’t skip budgeting for design and user testing, which are key to a smooth and engaging user experience. Plan for:
- Design Services: Depending on the UI’s complexity, design costs might range from $30 to $100 per hour.
- User Testing: Setting aside funds for user testing is useful for feedback on the app’s functionality and design.
II. Ongoing Tech Costs
AI projects often need reliable infrastructure, which can bring recurring costs—here’s a breakdown:
- Cloud Services: Using cloud platforms can cost anywhere from $100 to a few thousand dollars monthly, depending on how much computing power and storage you need.
- Compute Resources: Your usage of GPUs and cloud hours will influence this cost.
- Data Storage: Storing large datasets can add up, so choose options that match your budget.
- Maintenance and Updates: Routine maintenance is essential to keep things running smoothly.
- Server Maintenance: A small budget for server monitoring goes a long way toward stability.
- Software Updates: Plan for regular updates so your generator keeps up with new technologies.
III. Licensing and Legal Considerations
Legal aspects are vital when building an AI art generator. Here’s what to keep in mind:
- Copyright Issues: Make sure any images used for training are in the public domain or licensed correctly. Here are some things to consider:
- Fair Use Doctrine: Familiarize yourself with the fair use doctrine and how it applies to your project. Seek legal advice if necessary to ensure compliance.
- Creative Commons Licenses: Use images licensed under Creative Commons, allowing legal use under specific conditions.
- Licensing Datasets: Some datasets require licenses for commercial use. Be sure to read the terms of use and comply with any restrictions. Budget for licensing costs, if applicable:
- Public Domain Datasets: Some datasets are free, while others may require a fee. Research and choose datasets that align with your budget and project goals.
Use Cases and Applications
AI art generators have plenty of uses across all kinds of fields. Have you ever thought about where AI art might fit? Here are a few examples:
- Marketing and Advertising: Companies can turn to AI-made art for ad campaigns, social posts, and branding. With AI art, brands can share fresh, unique visuals to stand out. For example:
- Social Media Content: Brands can grab attention with AI-generated images, boosting likes and shares.
- Ad Creatives: Digital ads get a lift with unique, AI-created images that connect with audiences.
- Entertainment and Gaming: Game developers can design assets, characters, and worlds using AI art. This approach speeds things up and cuts costs. Here’s how:
- Character Design: Developers can create one-of-a-kind characters with distinct traits to make gameplay more exciting.
- Environment Creation: AI can quickly generate landscapes, letting designers build immersive game worlds quickly.
- Personal Use: Many people enjoy using AI art just for fun, whether for personal art projects or decorating their spaces. Notably, 70% of users leverage Midjourney for fun. Here are some ideas:
- Home Decor: Create custom artwork to make your home feel unique.
- Social Media Profiles: AI-generated images make eye-catching profile pics perfect for standing out online.
Potential Business Models
Mulling over creating your own AI art generator? If so, you might also be wondering how to make money from it. Here are a few ways to do just that:
- Subscription-Based Model: Users pay a monthly fee to access your generator, plus any new features or updates. This setup can provide a steady income. How could you structure it?
- Tiered Pricing: Try offering different levels, like a basic plan with limited access and a premium one with extra perks.
- Exclusive Content: Give subscribers access to unique styles or special datasets, making their experience more valuable and encouraging them to stick around.
- Pay-Per-Use Model: This lets users pay each time they create something, which is great for casual users who just want to experiment a bit. Here’s one way to set it up:
- Credits System: Users buy credits to create images, paying only for what they need.
- Flexible Pricing: Offer various prices based on image quality or size. For instance, high-res images might cost more credits than standard ones.
Challenges and Considerations
To create your AI art generator, you should know that the process comes with its own set of challenges. Let’s take a look at some common hurdles and strategies to overcome them:
Common Challenges
- Data Quality: The quality of your output depends greatly on the images you feed into your model. Using high-quality, diverse images is key. Here’s how to stay on top of this:
- Curate Datasets: Spend time selecting images that truly match the styles and themes you want to create. Toss out any low-quality ones that could throw off your model.
- Regular Updates: Add new images now and then to keep your generator producing fresh results.
- Ethical Concerns: With the boom of new AI technologies and AI-generated art accessible to everyone, ethical considerations arise, such as the potential for plagiarism and the impact on traditional artists. To explore this topic more, read our article on why AI regulation is crucial.
Building trust with users is important. Here’s how to do it:
- Transparency: Explain how your generator works and where the data comes from. Talking with users can ease worries and help build trust.
- Fair Use Practices: Help users understand fair use and remind them to use unique prompts instead of copying existing art.
Tips to Overcome Challenges
- Implement Robust Data Management: Regular updates and monitoring of your images can improve how well your model performs. Try these practices:
- Version Control: Keep track of dataset changes so you’re always using the best images.
- Quality Checks: Put in place checks to ensure the images in your set meet your standards.
- Foster Community Engagement: Engaging users can help create a supportive community around your generator. Here’s how:
- Feedback Mechanisms: Set up a way for users to give feedback on the images, helping you improve things as you go.
- User Showcase: Create a space to show off user-created art, encouraging people to share and connect.
Wrapping Up
Building your own AI art generator is a fun project that lets you blend tech and creativity in a new way. By grasping the basics, figuring out each building step, and thinking about the costs, you can create a tool that sparks user creativity. Have you ever considered making something like the popular MidJourney AI art app? Or maybe you’re just curious about diving into this field? Either way, the possibilities are wide open.
As you start this journey, remember that creating an AI art generator has its challenges, but it’s also packed with learning moments. With some dedication, a bit of trial and error, and a willingness to go with the flow, you can build a powerful tool that brings your creative ideas to life and connects with a community excited to mix art with technology.


